
Creating and Using S3 Object Storage
In times of high availability and multiple web servers, the balancing act between central data storage, data security and fast access times must somehow be achieved. This is precisely why more and more users are now using technologies that entice them with buzzwords such as S3, buckets, object storage and Swift. We at NETWAYS Web Services have been offering this for some time, but we have noticed that it is apparently not documented enough for our customers. To shed some light on this, we have created this article. This explanation is therefore given piece by piece:
- Why Object Storage
- Creating S3-Credentials via Openstack-API
- Configuration of s3cmd
- Create a New Bucket
- Place Files in the Bucket
- List Contents of Bucket
- Download Files from a Bucket
- Further s3cmd Application Uses
- Conclusion
Why Object Storage?
S3 Object storage offers many advantages over locally stored data or classic NFS storage because an NFS setup often consists of only one server and thus represents the single point of failure. The administrator must also always be concerned about the performance of the storage and the operating web servers. Another advantage of object storage is the size and number of data to be stored. This is because, in the case of object storage, the data is unlimited. The provider of the object storage (i.e. in the current case NWS) ensures that the space here never runs out. With your own NFS, the size must be taken into account in the planning from the beginning and the customer pays for the planned reserve in the long run. With object storage, only the volume that is used is paid for. Also worth mentioning is the relief of the web server, especially with regard to locally stored data. Imagine the following architecture: The application is run on several web servers, images and other objects are stored in the object storage and delivered directly to the website visitor through intelligent integration without burdening the own web servers or their bandwidth. In short, you tell your application not to deliver this image, but the application only passes on the path of the stored image to the visitor. The image is ultimately delivered directly from the Rados gateway behind it and was never delivered from the app server. This means that it reaches the website visitor quickly, saves bandwidth and reduces the load on one’s own web server, and is nevertheless kept centralised. By the way, the object storage uses our Ceph, where all the data is distributed over a large number of systems and naturally also has corresponding replica sets.
Creating S3-Credentials via Openstack-API
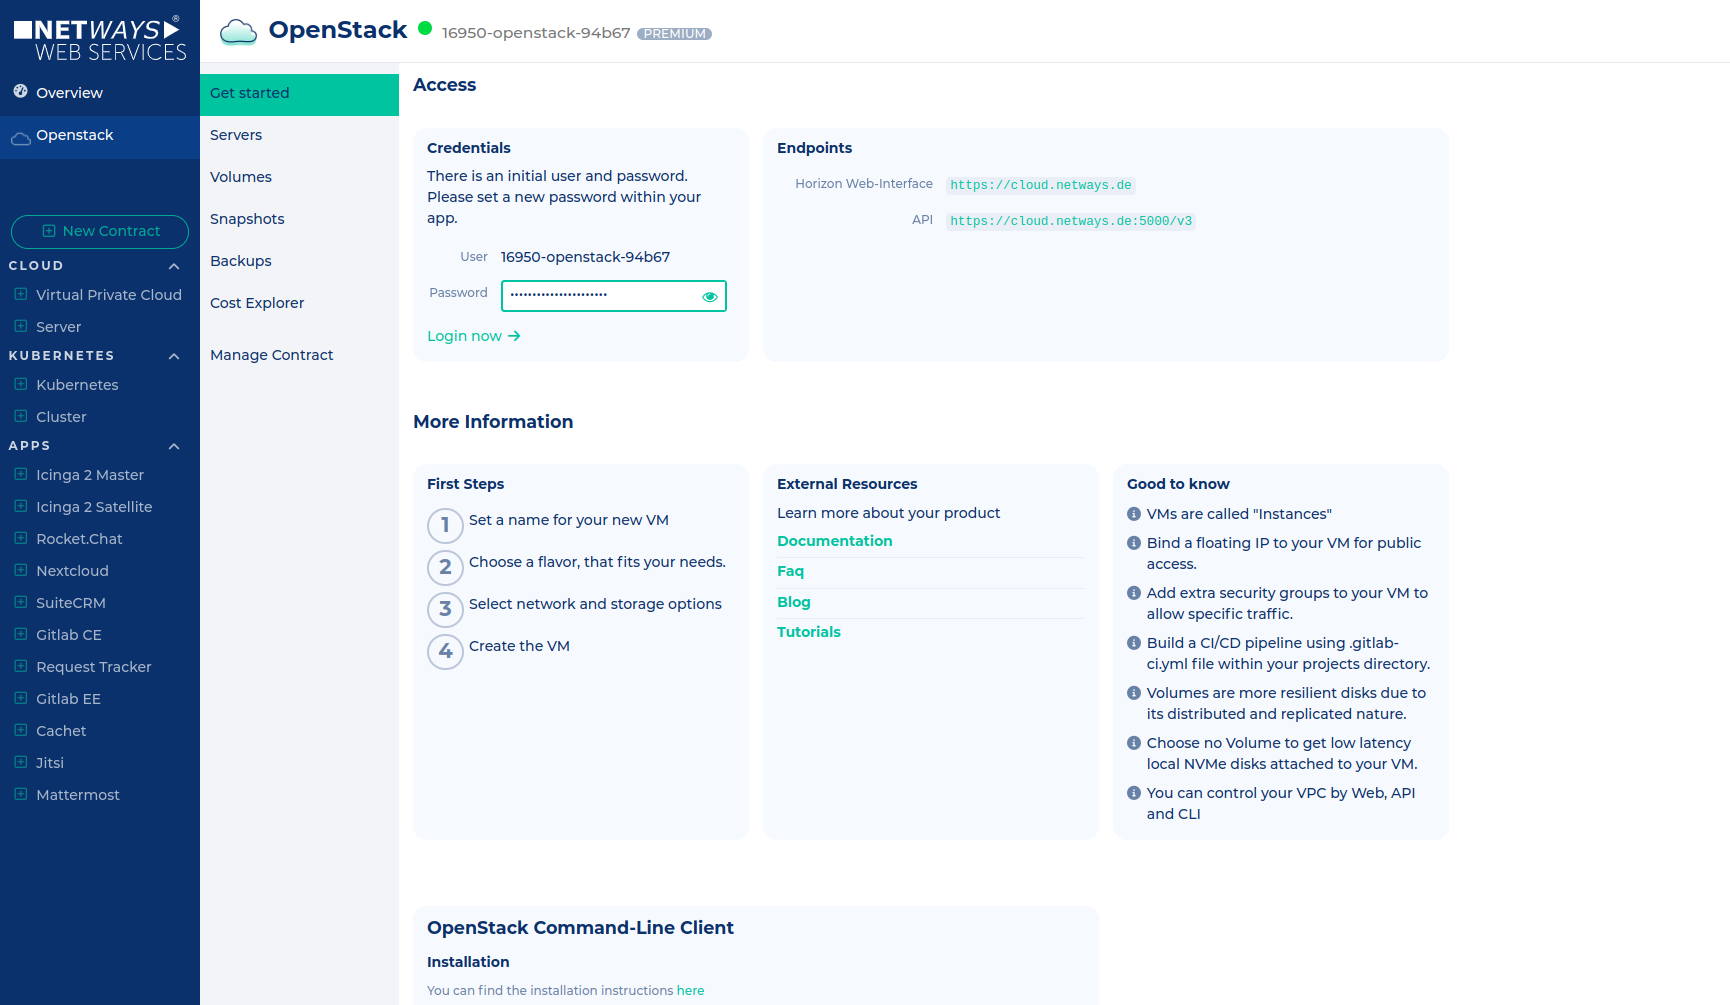
To be able to use an object storage at NWS, an OpenStack account is required. It is important to note, that the credentials for S3 should be created using the OpenStack Project User account. Details about the reason why you should not be using your NWS-ID user can be found over here. You can find instructions on how to activate the OpenStack Project User in this documentation. Once this is ready, the process can begin. In OpenStack, go to the menu item “API Access” and download the OpenStack RC file (top right). The script that has just been downloaded is now started on the local machine. All that is required is the OpenStack password. But beware, an OpenStack client is required.
source 9231-openstack-4707c-openrc.sh
Please enter your OpenStack Password for project 9231-openstack-4707c as user 9231-openstack-4707c:
Now the EC2 credentials for the S3 access must be created, for this purpose the command
openstack ec2 credentials create
The result provides output similar to the following
+------------+------------------------------------------------------------------------------------------------------------------------+
| Field      | Value                                                                                                                                   |
+------------+------------------------------------------------------------------------------------------------------------------------+
| access     | aceab8b6b85c51f8d3b305aec1af39c2                                                                                       |
| links      | {'self': 'https://cloud.netways.de:5000/v3/users/24c527b4929f10bd6c6ee09af4b30be2/credentials/OS-EC2/aceab8b6b85c51f8d3b305aec1af39c2'} |
| project_id | a40c737aaf3027d87e98f309f9f671d4                                                                                       |
| secret     | e5d312a7627cdf2a87ac4322a6d7716b                                                                                       |
| trust_id   | None                                                                                                                   |
| user_id    | 24c527b4929f10bd6c6ee09af4b30be2                                                                                       |
+------------+------------------------------------------------------------------------------------------------------------------------+
Configuration of s3cmd
For further use, s3cmd is now configured. This requires an installed s3cmd. The setup starts by means of s3cmd --configure
In the following wizard, the previously created data is entered, which then looks something like this (relevant entries in bold)
s3cmd --configure

Enter new values or accept defaults in brackets with Enter.
Refer to the user manual for a detailed description of all options.

Access key and Secret key are your identifiers for Amazon S3. Leave them empty for using the env variables.
Access Key: aceab8b6b85c51f8d3b305aec1af39c2
Secret Key: e5d312a7627cdf2a87ac4322a6d7716b
Default Region [US]:

Use "s3.amazonaws.com" for S3 Endpoint and not modify it to the target Amazon S3.
S3 Endpoint [s3.amazonaws.com]: rgw1.netways.de

Use "%(bucket)s.s3.amazonaws.com" to the target Amazon S3. "%(bucket)s" and "%(location)s" vars can be used
if the target S3 system supports dns based buckets.
DNS-style bucket+hostname:port template for accessing a bucket [%(bucket)s.s3.amazonaws.com]: rgw1.netways.de/%(bucket)s

Encryption password is used to protect your files from reading
by unauthorized persons while in transfer to S3
Encryption password:
Path to GPG program:

When using secure HTTPS protocol all communication with Amazon S3
servers is protected from 3rd party eavesdropping. This method is
slower than plain HTTP, and can only be proxied with Python 2.7 or newer
Use HTTPS protocol [Yes]:

On some networks all internet access must go through a HTTP proxy.
Try setting it here if you can't connect to S3 directly
HTTP Proxy server name:

New settings:
Access Key: aceab8b6b85c51f8d3b305aec1af39c2
Secret Key: e5d312a7627cdf2a87ac4322a6d7716b
Default Region: US
S3 Endpoint: rgw1.netways.de
DNS-style bucket+hostname:port template for accessing a bucket: rgw1.netways.de/%(bucket)s
Encryption password:
Path to GPG program: None
Use HTTPS protocol: True
HTTP Proxy server name:
HTTP Proxy server port: 0

Test access with supplied credentials? [Y/n] n

Save settings? [y/N] y
Configuration saved to '/Users/gmimietz/.s3cfg'
In order for the S3 commands to work as desired, a small adjustment has to be made to the config that was just created
vim ~/.s3cfg
There the line
signature_v2 = False
is adapted to
signature_v2 = True
After saving, the application can now begin.
Creating a new Bucket
A new bucket is created using the following command
s3cmd mb s3://myfirstbucket
To check the creation of the bucket, it is listed with the command
s3cmd ls
Place Files in the Bucket
Time to upload the first files. The put parameter is used for this
s3cmd put /Users/gmimietz/Downloads/water.liquid s3://myfirstbucket/
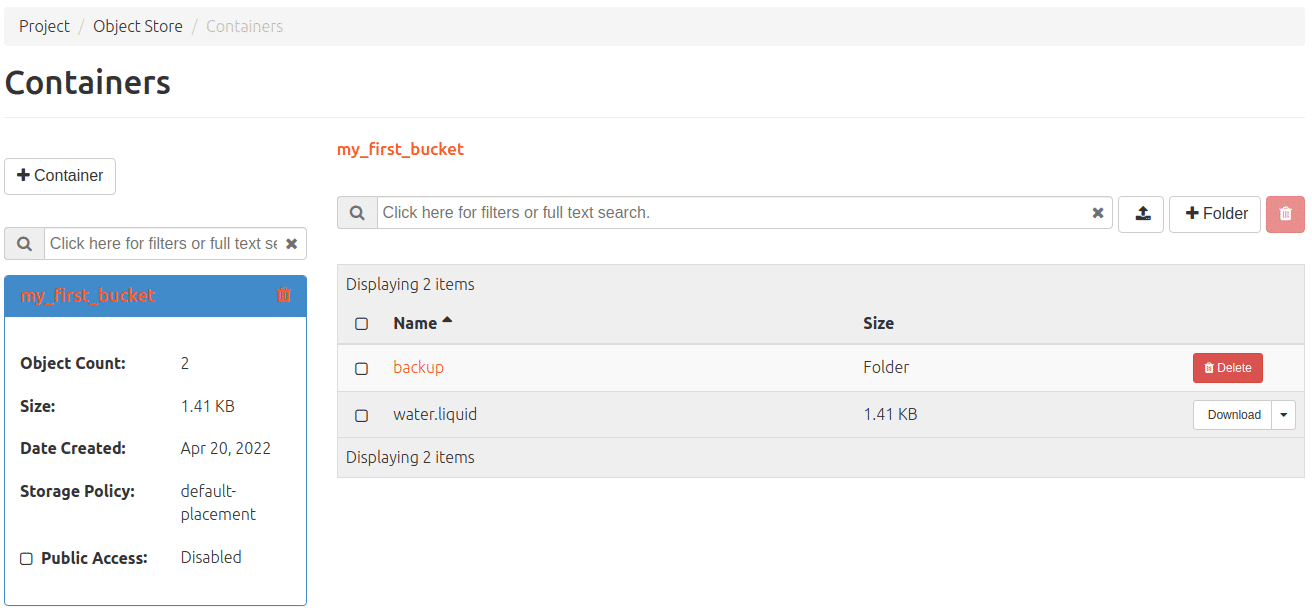
List Contents of Bucket
To see what is in the bucket that has just been filled, the ls command lists the contents. However, this is now expanded by the bucket name
s3cmd ls s3://myfirstbucket
2021-02-02 11:04 402088862 s3://myfirstbucket/water.liquid
Download files from a Bucket
The file that has just been uploaded can now be downloaded using the get parameter.
s3cmd get s3://myfirstbucket/water.liquid
Further s3cmd Application Uses
Below are some helpful commands: Move an object from one bucket to another:
s3cmd mv s3://myfirstbucket/water.liquid s3://mysecondbucket
Store an object encrypted in the bucket (requires a predefined passphrase). (s3cmd –configure)
s3cmd put fire.element s3://myfirstbucket -e
A very valuable command is the sync to synchronise a local directory with a bucket (everything below /important-data is synced to s3://myfirstbucket/backup/)
s3cmd sync /important-data/ s3://myfirstbucket/backup/
To conserve bandwidth in certain use cases, the –limit-rate option helps, this defaults to bytes but the option also recognises a k or m suffix (kilo/megabyte) per second
s3cmd put myfile s3://myfirstbucket --limit-rate=1k
Conclusion
Of course, there are many more parameters for the s3cmd, all of which can be listed using –help. When using s3, however, modern and elegant procedures can also be included, e.g. the lifetime of a file with a predefined deletion date. In OpenStack you can also see what the object storage is doing by navigating to the corresponding menu via Project>Object Storage. By the way, our object storage also works with swift – so it is also addressed by OpenStack itself. So a mixed operation of S3 and swift is possible at your discretion. We have not yet documented swift further, but our friendly MyEngineers will be happy to provide information on request.
The prices for our object storage and everything else we offer at NWS can be found here at any time.


Recent Comments