

Every few years, Ubuntu releases a new LTS version of its operating system, and with it comes a bunch of new applications and dependencies. This can be both exciting and challenging for system administrators who have to make sure everything works after an upgrade. One of the upgraded features in Ubuntu 22.04 is the transition from PHP7.x to PHP8.x. This brings a performance boost, great new features and longer support. To make the transition easier for you, we’ll go through the steps required to upgrade your Ubuntu server to 22.04 and your Nextcloud to version 26 with PHP8.x. And off you go!
Get your hosted NextCloud as a Service from NETWAYS.
The first month is free!
Preparation
Before we make any irreversible changes, we should prepare our system so that we have a good base to fall back on in case anything goes wrong (it won’t, but you never know). We start by making sure our current server is up to date and all packages are installed.
sudo apt update
sudo apt upgrade
sudo apt autoremoveThis would be a very good time to create a backup or snapshot of your server as we still have a current, working system. Should something happen or should you make a mistake, you can always go back to this point of data recovery and start over. Also, you should consider allowing port 1022 for later as you will likely be doing this process over SSH. Just as a side note, we take no responsibility for lost data, so we highly recommend you create a backup to restore your data from in case things go wrong. The next step is to make a note of the PHP modules we currently have installed on the server. We will need these in order to install the corresponding versions later. A little tip: You don’t need to worry about php-json as it is already included in PHP8. First, we will list the current modules that we have on our current PHP version. You can do this with the following two commands:
php -m

dpkg --get-selections | grep php

php -m
[PHP Modules]
apc
apcu
bcmath
calendar
Core
ctype
curl
date
dom
exif
...These are all the modules that are currently on the system and it is a good idea to save this list so that you can install the correct modules later. If you have already installed all modules manually with the older version, you can copy this command and just replace the version number. Copy this in your favorite editor and use the “Find and Replace” function to find “7.4” and replace it with “8.1”. This can be repeated for future versions and will save you time typing it out each time. Now that we know which modules we want to install for later, we can move on to the upgrade.
Dist-Upgrade
Now comes the fun part, we are preparing to upgrade our distribution to the next version, but first we need to confirm a few things. We need to make sure we find out what version of the distribution we are currently on so we haven’t skipped a version. If for some reason you are still on Ubuntu 18.04, you will need to upgrade to 20.04 first before moving to 22.04. Let’s check our distribution first:
lsb_release -a

No LSB modules are available.
Distributor ID: Ubuntu
Description: Ubuntu 20.04.6 LTS
Release: 20.04
Codename: focalVery good, that’s our current version and we can go straight to the next step and start the upgrade. Please note that you should have a coffee in between, as a dist upgrade takes some time depending on the system. To start the process, we enter this command, which starts the wizard:
sudo do-release-upgradeYou will be asked a series of questions about the process, which we will now go through.
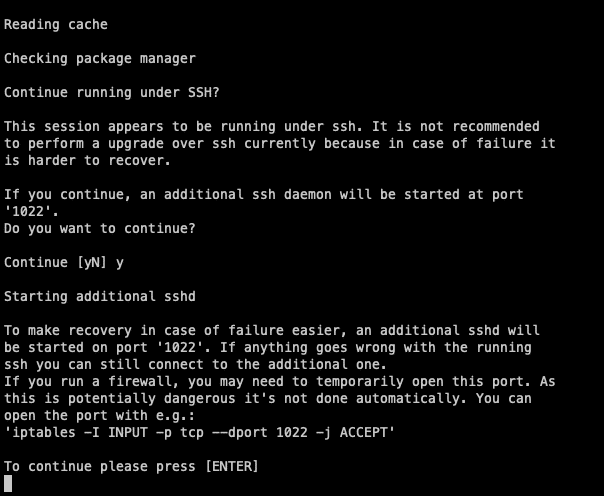
Since we will probably do this via SSH, the wizard will ask you if you want to run a daemon on port 1022 in case something crashes during the process. Always accept this question with yes, as you can then restore the instance via this port and continue the process. Make sure that this port is free on your computer or firewall if you have not already done so. Then simply press the Enter key to continue.
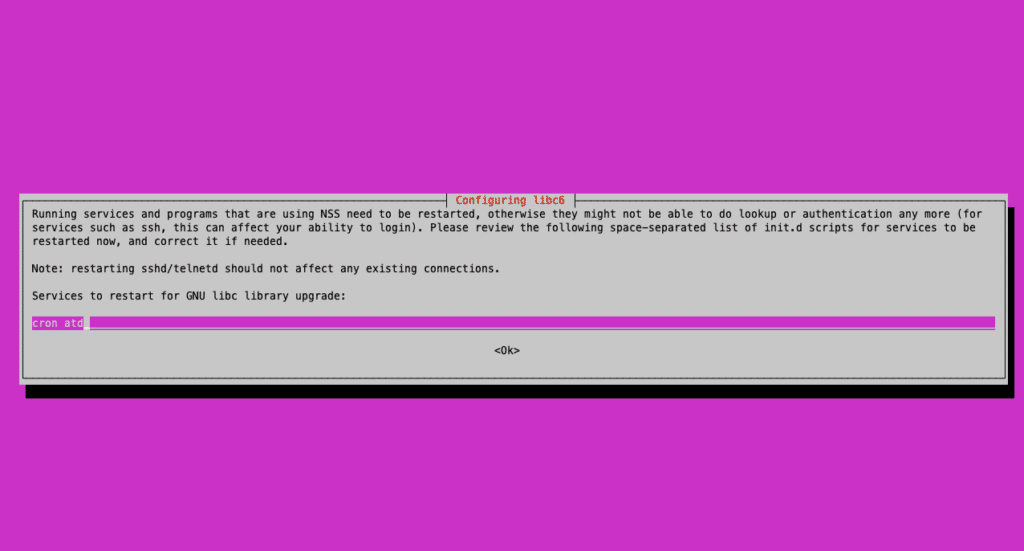
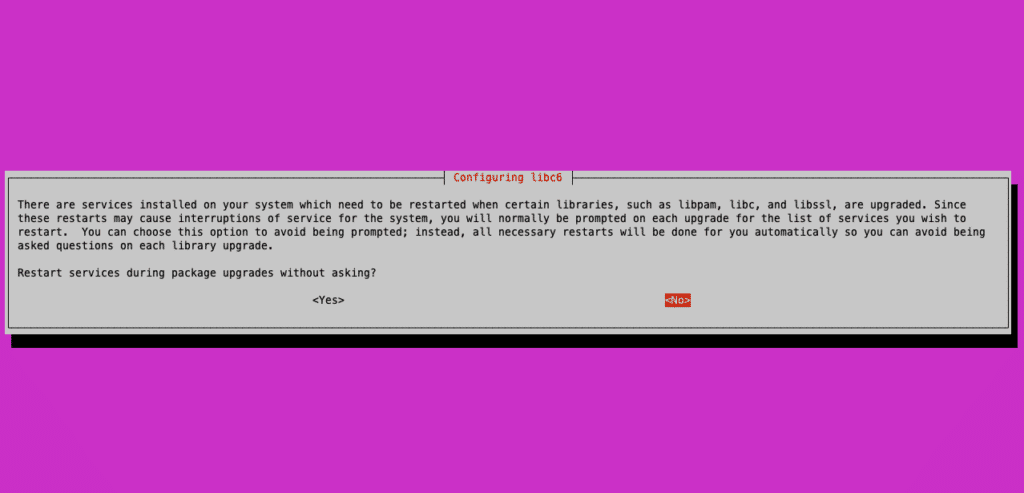
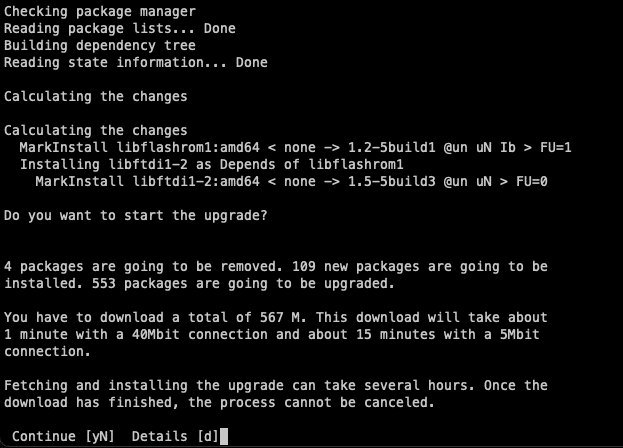
In the next steps you will be asked to confirm the installation of all new packages for the new distribution. Of course we want to continue with this, so simply agree to the next two screens. The first asks if reboots are allowed. If you are performing a dist-upgrade, your server will be unavailable anyway. So it is irrelevant whether you restart or not, just press enter to continue the process.
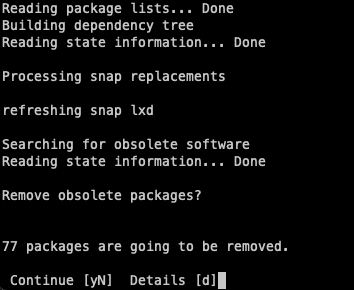
In the following question, you will be asked if you want to remove obsolete packages left over from the upgrade. You can simply get rid of these, as they only take up space.
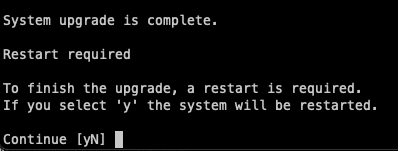
Finally, you will be prompted to restart your system. It’s always a good idea to do this right away as it only takes a minute. Now your server has the latest version of Ubuntu and is ready to be configured for PHP.
Configure PHP
We are now ready to set up our PHP for version 8.1. The reason why we are using 8.1 first is that Nextcloud version 25 is not compatible with higher versions. If you switch directly to 8.2, your Nextcloud will not work as intended. If you want to upgrade to 8.2, you will need to do this after upgrading your Nextcloud to version 26. Since we have already done the dist-upgrade, there might be some modules already installed that are prepared for PHP 8.1. However, we need to make sure that we install any additional modules that are required for Nextcloud. If we compare our list from earlier, we need to install all the remaining modules. In general, you will need the following commands:
sudo apt install php8.1-gd php8.1-mysql php8.1-curl php8.1-mbstring php8.1-intl php8.1-gmp php8.1-bcmath php-imagick php8.1-xml php8.1-zipNow we can deactivate the old PHP version (if not already done) and make sure that the latest version is activated.
a2dismod php7.4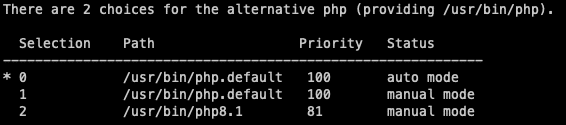
a2enmod php8.1With this command we can also set the default PHP version, which will always be used if nothing else is specified. We have the option to either leave it as the default or force it to always favor the version we select. However, this only affects the PHP commands they use in the CLI and is not application specific.
The last thing we need to do with PHP is to change some of the default settings for Nextcloud. These can be found here:
vim /etc/php/8.1/apache2/php.ini

memory_limit = 512M
upload_max_filesize = 500M
post_max_size = 500MBe sure to restart your services so that all configurations take effect and you can get started:
systemctl restart apache2From here, you can install Nextcloud 26 using the integrated installation program and complete the update in just a few minutes.
Conclusion
And that’s it already! Your server is now up to date and ready to conquer the world. It’s always a good idea to keep your system up to date to benefit from security updates, improved performance and new features for your applications. Nextcloud has numerous ways to improve your system, not just in terms of PHP versions. Exploring Nextcloud hardening is also a worthwhile endeavor and will be covered in our upcoming series of blog posts. So stay tuned for the next update from us! Need help with this topic? Send us a message or subscribe to our newsletter for more info on this topic.


0 Comments