

Many of you are probably already familiar with the use of Terraform in combination with Azure or AWS. And although these are the most commonly used platforms, there are uncertainties – often with regard to data protection (GDPR) – and therefore still a need for reliable alternatives. As all of our systems are based on open source, we will look at the use of Terraform in combination with OpenStack. We always try to integrate all our services into OpenStack and then create tutorials to help the community as well. By using Terraform with OpenStack, you can start deploying servers right away at your convenience. This tutorial will guide you through the first steps.
Understanding Terraform and OpenStack
Terraform is a fantastic tool for infrastructure provisioning. In the right hands, it can change the way resources are provisioned. Getting started with Terraform is relatively easy and within minutes servers can be deployed in our OpenStack project. Terraform is declarative, which means that you define the end result and let Terraform do the rest for you. OpenStack, on the other hand, is a great open source cloud provider with many features that are accessible to a variety of applications. Both tools are free and require no purchase. As usual with NETWAYS Web Services, you only have to pay for the actual server costs incurred. And these are lower than you think!
Install Terraform
At this point, we assume that you have already dealt extensively with OpenStack projects and will focus more on setting up Terraform. If Terraform has not yet been installed, we have a short guide for you here: If you’re running macOS, you’re in luck. You only need the following two commands to get started:
brew tap hashicorp/tap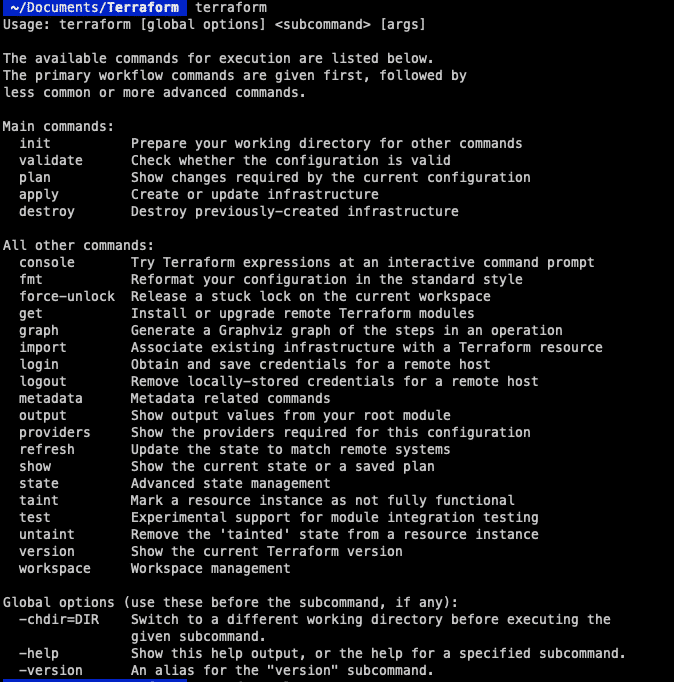
brew install hashicorp/tap/terraformThis installs the repository and everything else that is required. We then make sure that the setup is functional. By entering “terraform” in the console, you can check whether you receive a response.
Under Linux, however, you need a few more commands to get the system up and running. First, the GPG key must be added to the system:
wget -O- https://apt.releases.hashicorp.com/gpg | gpg --dearmor | sudo tee /usr/share/keyrings/hashicorp-archive-keyring.gpgNow we can add the official HashiCorp repository :
echo "deb [signed-by=/usr/share/keyrings/hashicorp-archive-keyring.gpg] https://apt.releases.hashicorp.com $(lsb_release -cs) main" | sudo tee /etc/apt/sources.list.d/hashicorp.listThe server can then be updated and Terraform installed.
sudo apt update
sudo apt install terraformHere, too, we can use the “terraform” command to check whether everything is installed correctly. If this is the case, the next step is to take care of authentication so that we can communicate with OpenStack.
Configure Terraform
A file called “main.tf” is required for all Terraform environments. This is used to configure the desired cloud provider, including the server to be set up and the modules to be integrated. You may want to create a separate directory for Terraform first, but this is ultimately up to you.
mkdir terraform
cd terraform
vim main.tfBelow you will find my “main.tf” file. The configuration can look like this in detail:
terraform {
   required_version = ">= 0.14.0"
   required_providers {
      openstack = {
         source = "terraform-provider-openstack/openstack"
         version = "~> 1.48.0"
      }
   }
}
provider "openstack" {
   auth_url = "https://cloud.netways.de:5000/v3/"
   user_name = "1234-openstack-56789"
   password = "supersecretpassword"
   region = "HetznerNBG4"
   user_domain_name = "Default"
   tenant_name = "1234-openstack-56789"
}This is the basic setting you need to communicate with your OpenStack provider. At the beginning we define the versions we want to use for Terraform and OpenStack. The “Provider” section is dedicated to the authentication you need for communication. Much of this information can also be found in the project under API Access and clouds.yaml, among others:
user_name – The user of the project
password – Password for this project
region – location of the provider
user_domain_name – usually “Default” tenant_name – This is not part of the clouds.yaml file. In this case the project name
Now that the authentication has been clarified, we can execute the next command to initialize everything. We can execute this command in the “terraform” directory:
terraform initThis is necessary because Terraform – although we have already installed it – does not collect the code for all providers. We do this at this point to get all the information we need for OpenStack. We are then able to communicate with our project. Now we can start building an infrastructure and get our resources up and running! For this example, we will start a server with a default flavor and an SSH key. Here is my configuration for both resources:
resource "openstack_compute_instance_v2" "example-server" {
name = "terraform-test"
flavor_name = "s1.small"
image_name = "Ubuntu Jammy 22.04 LTS"
security_groups = [
"HTTP",
"SSH"
]
network {
name = "6801-openstack-ca070"
}
key_pair = "ssh"
}This is a very simple setup to start with. You will find further necessities in the following paragraph.
Next steps
First, we take care of the resource or server that we want to create. Make sure that the values entered match the values in the project, otherwise the instance will not be created correctly. The security groups I used were already present in my project, as I had configured them for a previous project. This includes my SSH key so that I can still connect to the server later. This has to be done when the server is created. Here you can see the complete configuration for setting up the cloud provider and the server I want to use:
terraform {
   required_version = ">= 0.14.0"
   required_providers {
      openstack = {
         source = "terraform-provider-openstack/openstack"
         version = "~> 1.48.0"
      }
   }
}
provider "openstack" {
   auth_url = "https://cloud.netways.de:5000/v3/"
   user_name = "1234-openstack-56789"
   password = "supersecretpassword"
   region = "HetznerNBG4"
   user_domain_name = "Default"
   tenant_name = "1234-openstack-56789"
}
resource "openstack_compute_instance_v2" "example-server" {
name = "terraform-test"
flavor_name = "s1.small"
image_name = "Ubuntu Jammy 22.04 LTS"
security_groups = [
"jitsi",
"SSH"
]
network {
name = "6801-openstack-ca070"
}
key_pair = "ssh"
}Now that our configuration is set up, we can do a test run to see what changes are made. Before the changes are actually applied, it is always advisable to try out the configuration in advance. This allows you to check the code again before it is deployed. The graph that results from the command is very similar to that of git. It shows you with “+” and “-” which changes have been made. This gives you a better overview.
terraform plan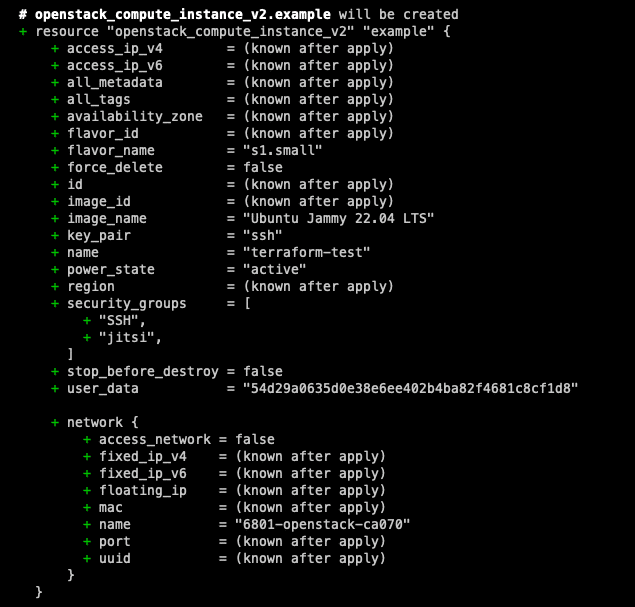
If you are satisfied with the changes displayed and there are no errors, you can execute the next command to actually apply the changes. You then have the option of confirming or canceling the changes.
terraform app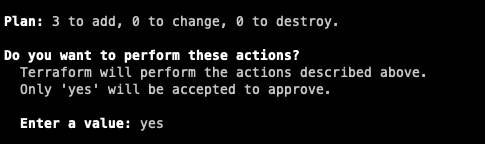
When you have finished the setup and no longer need it, the resources can then be released again using the command below. Be careful, however, as this will remove the entire configuration. If other people are working on the machine, they may no longer be able to access it!
terraform destroySummary
Presto! Your first steps in the world of provisioning with OpenStack are done. What we have described on a small scale in this tutorial will not change the world. But it opens up many more possibilities for your future projects. With the declarative approach of Terraform and the flexibility of OpenStack, provisioning and managing infrastructure resources becomes efficient and accessible. But that’s not all: in the upcoming Terraform tutorials, we will look at specific configurations in use with OpenStack. Start your own project using our OpenStack cloud solution and try it out for yourself! And if you need help, our MyEngineer® are always there for you.


0 Comments