With the first steps in Kubernetes, you already know how to launch applications in your Kubernetes cluster. Now we will expose your application online. How the whole thing works and how you can best get started yourself with a Kubernetes Nginx Ingress Controller is explained below with an example.
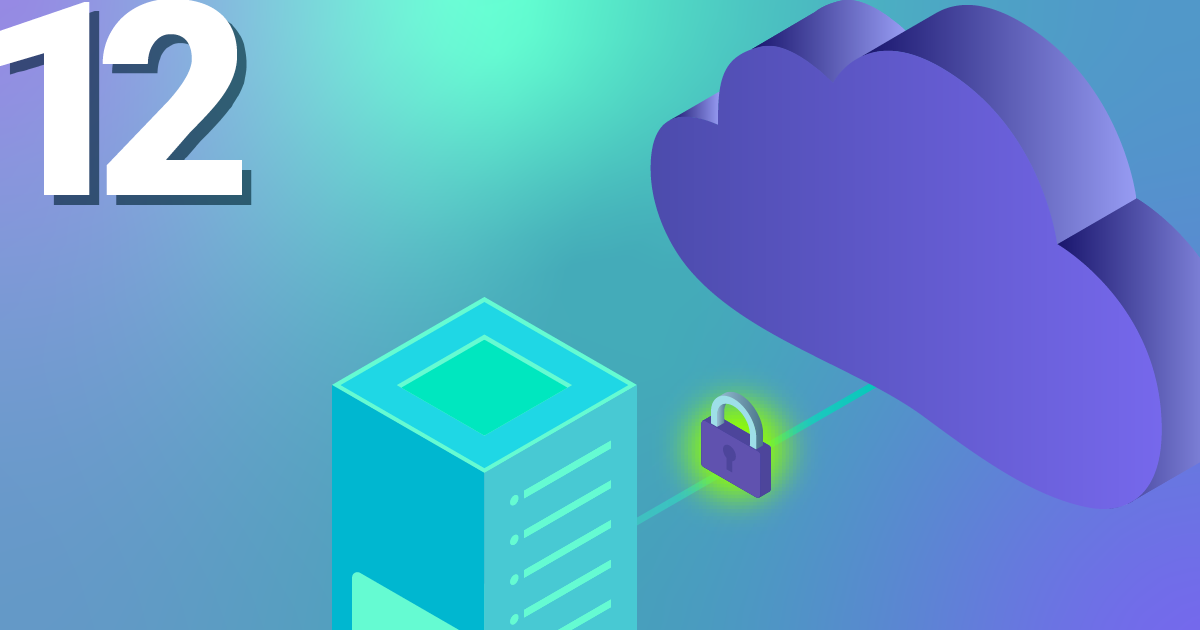
To make applications accessible from the outside in a Kubernetes cluster, you can use a load balancer type service. In the NETWAYS Cloud, we start an Openstack Octavia LB with a public IP in the background and forward the incoming traffic to the pods (bingo). So, we need a separate load balancer with public IP for each application. In order to be able to work more resource- and cost-efficiently in a case like this, named-based virtual hosts and server name indication (sni) were developed a long time ago. The well-known NGINX web server supports both and, as a Kubernetes ingress controller, it can make all our http/s applications quickly and easily accessible with only one public IP address.
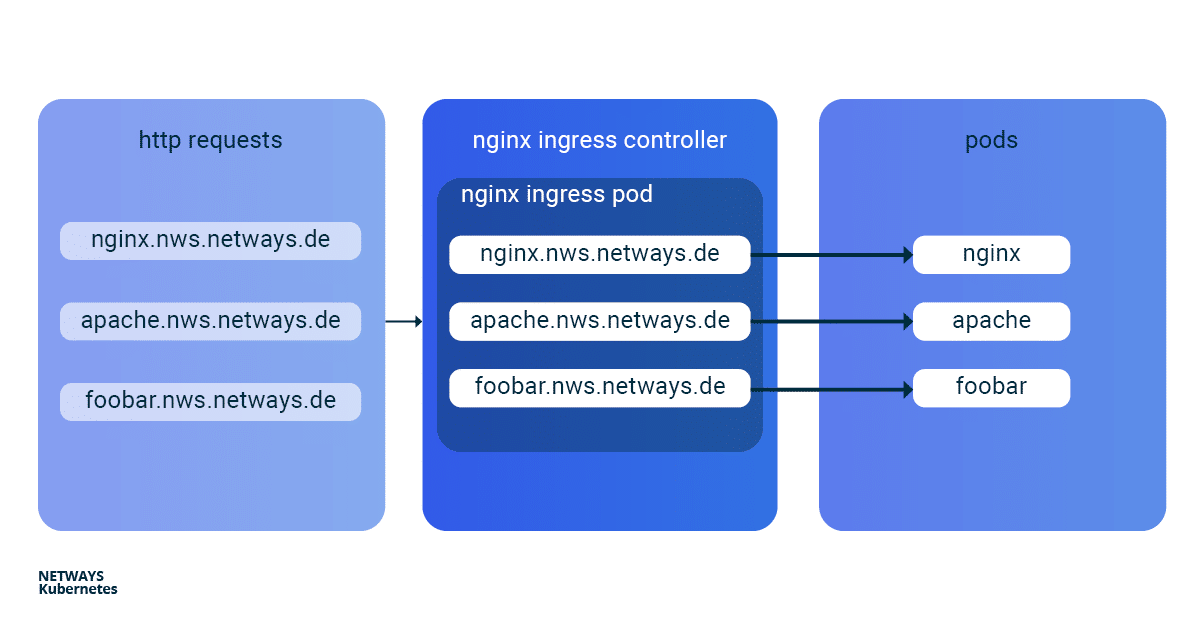
The installation and updating of the Ningx Ingress Controller is very simplified thanks to a helmet chart. With K8s Ingress objects, you configure the mapping of vHosts, URI paths and TLS certificates to K8s services and consequently to our applications. So that the buzzwords don’t prevent you from seeing the essentials, here is a brief overview of how the HTTP requests are forwarded to our applications:
Installation of Kubernetes Nginx Ingress Controller

For easy installation of the Kubernetes Nginx Ingress Controller, you should use Helm. Helm describes itself as a package manager for Kubernetes applications. Besides installation, Helm also offers easy updates of its applications. As with kubectl, you only need the K8s config to get started:
helm install my-ingress stable/nginx-ingress
With this command Helm starts all necessary components in the default namespace and gives them the label my-ingress. A deployment, a replicaset and a pod are created for the Nginx Ingress Controller. All http/s requests must be forwarded to this pod so that it can sort the requests based on vHosts and URI paths. For this purpose a service of the type loadbalancer was created, which listens for a public IP and forwards the incoming traffic on ports 443 and 80 to our pod. A similar construct is also created for the default-backend, which I will not go into here. So that you don’t lose the overview, you can display all the components involved with kubectl:
kubectl get all -l release=my-ingress  #with default-backend
kubectl get all -l release=my-ingress -l component=controller #without default-backend
NAME                                                             READY    STATUS      RESTARTS
pod/my-ingress-nginx-ingress-controller-5b649cbcd8-6hgz6         1/1      Running     0

NAME                                                             READY    UP-TO-DATE  AVAILABLE
deployment.apps/my-ingress-nginx-ingress-controller              1/1      1           1

NAME                                                             DESIRED  CURRENT     READY
replicaset.apps/my-ingress-nginx-ingress-controller-5b649cbcd8   1        1           1

NAME                                              TYPE           CLUSTER-IP       EXTERNAL-IP      PORT(S)
service/my-ingress-nginx-ingress-controller       LoadBalancer   10.254.252.54    185.233.188.56   80:32110/TCP,443:31428/TCP
Example Applications: Apache und Nginx
Next, we start two simple example applications. In this example, I use Apache and Nginx. The goal is to make both applications available under their own name-based virtual hosts: nginx.nws.netways.de und apache.nws.netways.de. In order for the two deployments to be accessible within the K8s cluster, we still need to connect each of them with a service.
K8s Deployments
apiVersion: apps/v1
kind: Deployment
metadata:
  name: nginx-deployment
  labels:
    app: nginx
spec:
  replicas: 3
  selector:
    matchLabels:
      app: nginx
  template:
    metadata:
      labels:
        app: nginx
    spec:
      containers:
      - name: nginx
        image: nginx:1.7.9
        ports:
        - containerPort: 80
Apache Deployment
apiVersion: apps/v1
kind: Deployment
metadata:
  name: apache-deployment
  labels:
    app: apache
spec:
  replicas: 3
  selector:
    matchLabels:
      app: apache
  template:
    metadata:
      labels:
        app: apache
    spec:
      containers:
      - name: apache
        image: httpd:2.4
        ports:
        - containerPort: 80
K8s Service
apiVersion: v1
kind: Service
metadata:
  name: nginx-svc
spec:
  ports:
  - port: 80
    targetPort: 80
    protocol: TCP
    name: http
  selector:
    app: nginx
apiVersion: v1
kind: Service
metadata:
  name: apache-svc
spec:
  ports:
  - port: 80
    targetPort: 80
    protocol: TCP
    name: http
  selector:
    app: apache
Virtual Hosts without TLS
The public IP can be found in the service of the Nginx Ingress Controller and kubectl describe shows all important details about the service (see below). For testing, it is best to modify its /etc/hosts file and enter the IP of LoadBalancer Ingress there.
apiVersion: networking.k8s.io/v1beta1
kind: Ingress
metadata:
  name: my-ingress
spec:
  rules:
  - host: apache.nws.netways.de
    http:
      paths:
        - backend:
            serviceName: apache-svc
            servicePort: 80
  - host: nginx.nws.netways.de
    http:
      paths:
        - backend:
            serviceName: nginx-svc
            servicePort: 80
kubectl describe service/my-ingress-nginx-ingress-controller
kubectl get service/my-ingress-nginx-ingress-controller -o jsonpath='{.status.loadBalancer.ingress[].ip}’
Virtual Hosts with TLS
kubectl create secret tls my-secret –key cert.key –cert cert.crt
The created secret can then be referenced by the specified name my-secret in spec of the Ingress object. To do this, enter our virtual host and the corresponding TLS certificate in the hosts array within tls. An automatic redirect from http to https is activated from the beginning.
apiVersion: networking.k8s.io/v1beta1
kind: Ingress
metadata:
  name: my-ingress
spec:
  tls:
    - hosts:
      - apache.nws.netways.de
      - nginx.nws.netways.de
      secretName: my-secret
  rules:
  - host: apache.nws.netways.de
    http:
      paths:
        - backend:
            serviceName: apache-svc
            servicePort: 80
  - host: nginx.nws.netways.de
    http:
      paths:
        - backend:
            serviceName: nginx-svc
            servicePort: 80
Conclusion
With the Nginx Ingress Controller it is easy to make your web-based applications publicly accessible. The features and configuration options offered should cover the requirements of all applications and can be found in the official User Guide. Besides your own application, you only need a Helm Chart and a K8s Ingress object. Kubernetes also manages to hide many complex layers and technologies with only a few abstract objects like deployment and ingress. With a NETWAYS Managed Kubernetes solution, you can take full advantage of this abstraction and focus on your own application. So, get started!