In the first Database tutorial, Sebastian already explained what Vitess is all about and what possibilities it offers you, when running your application compared to an ordinary database.
In this tutorial, I would like to explain how easy it is for you to start your NETWAYS Managed Database(s) within a few minutes in our Vitess Cluster!
What Makes Your Database Special
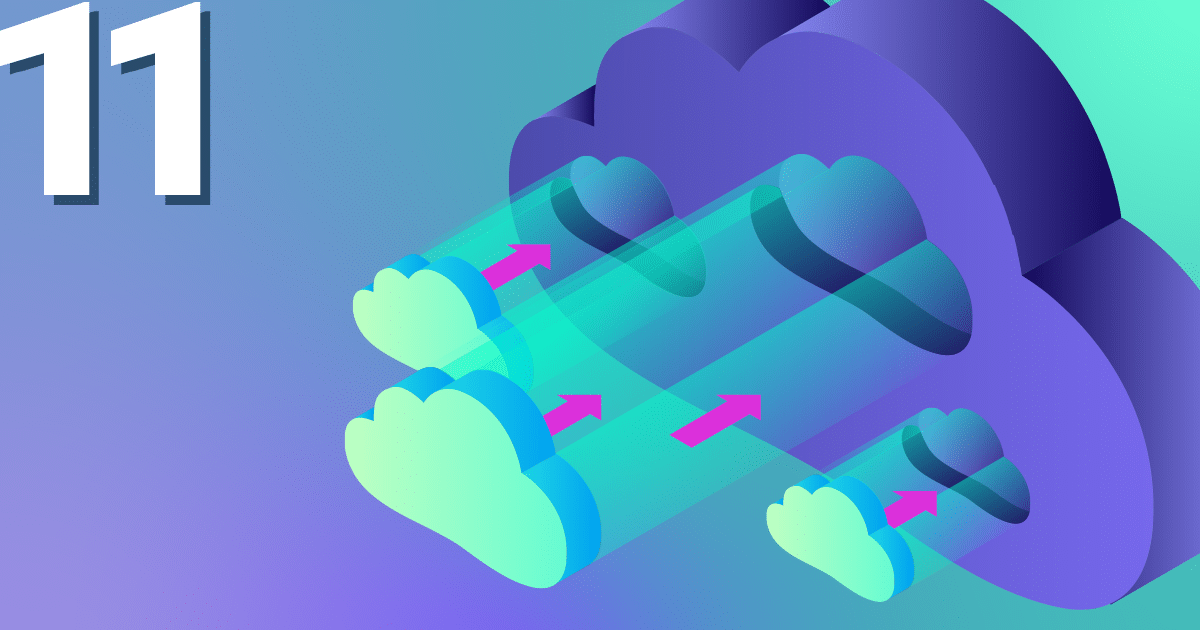
It has to be mentioned in advance that your setup is always highly available. We run Vitess in a Kubernetes cluster, which is equally distributed between our two data centers.
We always replicate the data from left to right. A managed database therefore consists of at least two replicas – a primary and at least one replica. If the primary is located in one data center (left), the replica automatically moves to the other (right). So, if one data centers fails, Vitess swings over and continues to run the database on the second data center without affecting your application.
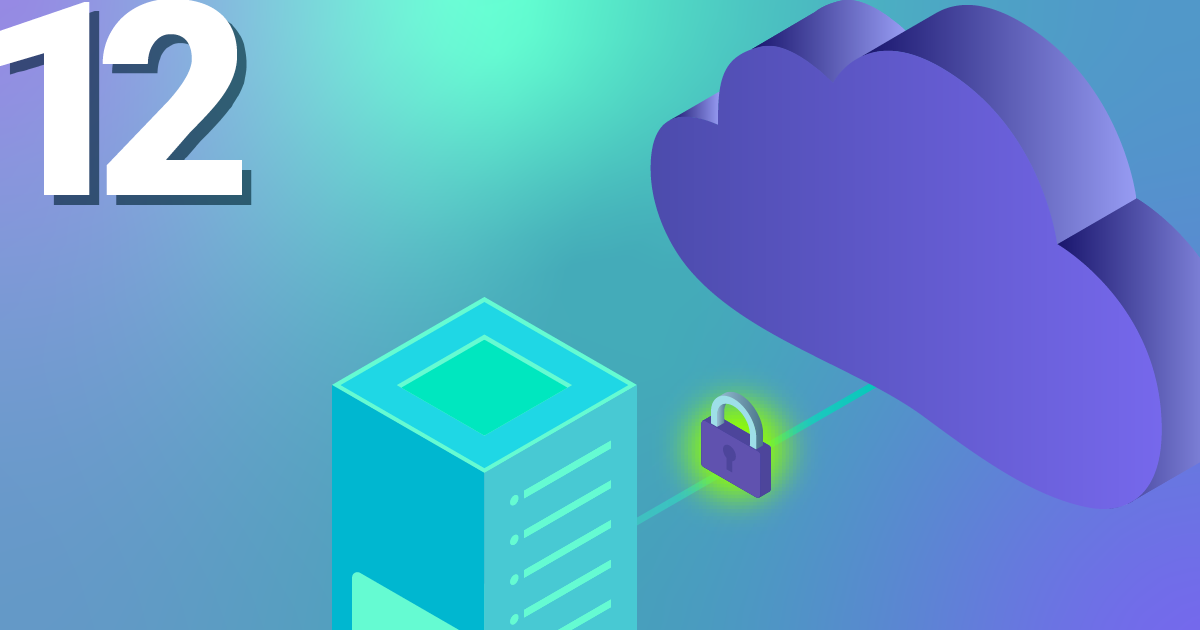
Furthermore, disaster recovery is included out of the box. As soon as the database is created, an initial backup is made and subsequently a daily backup (MySQL dump) is created. The data is copied to S3 in Xtrabackup format and from this storage the data is restored, in case of emergency.
How to Get Your First Database Started
Enough of the theory – how does the start of a Managed DB work in practice? First of all you have to register on our NETWAYS Web Services (NWS) platform.
As soon as you have created your account and entered your payment method, you are ready to go!
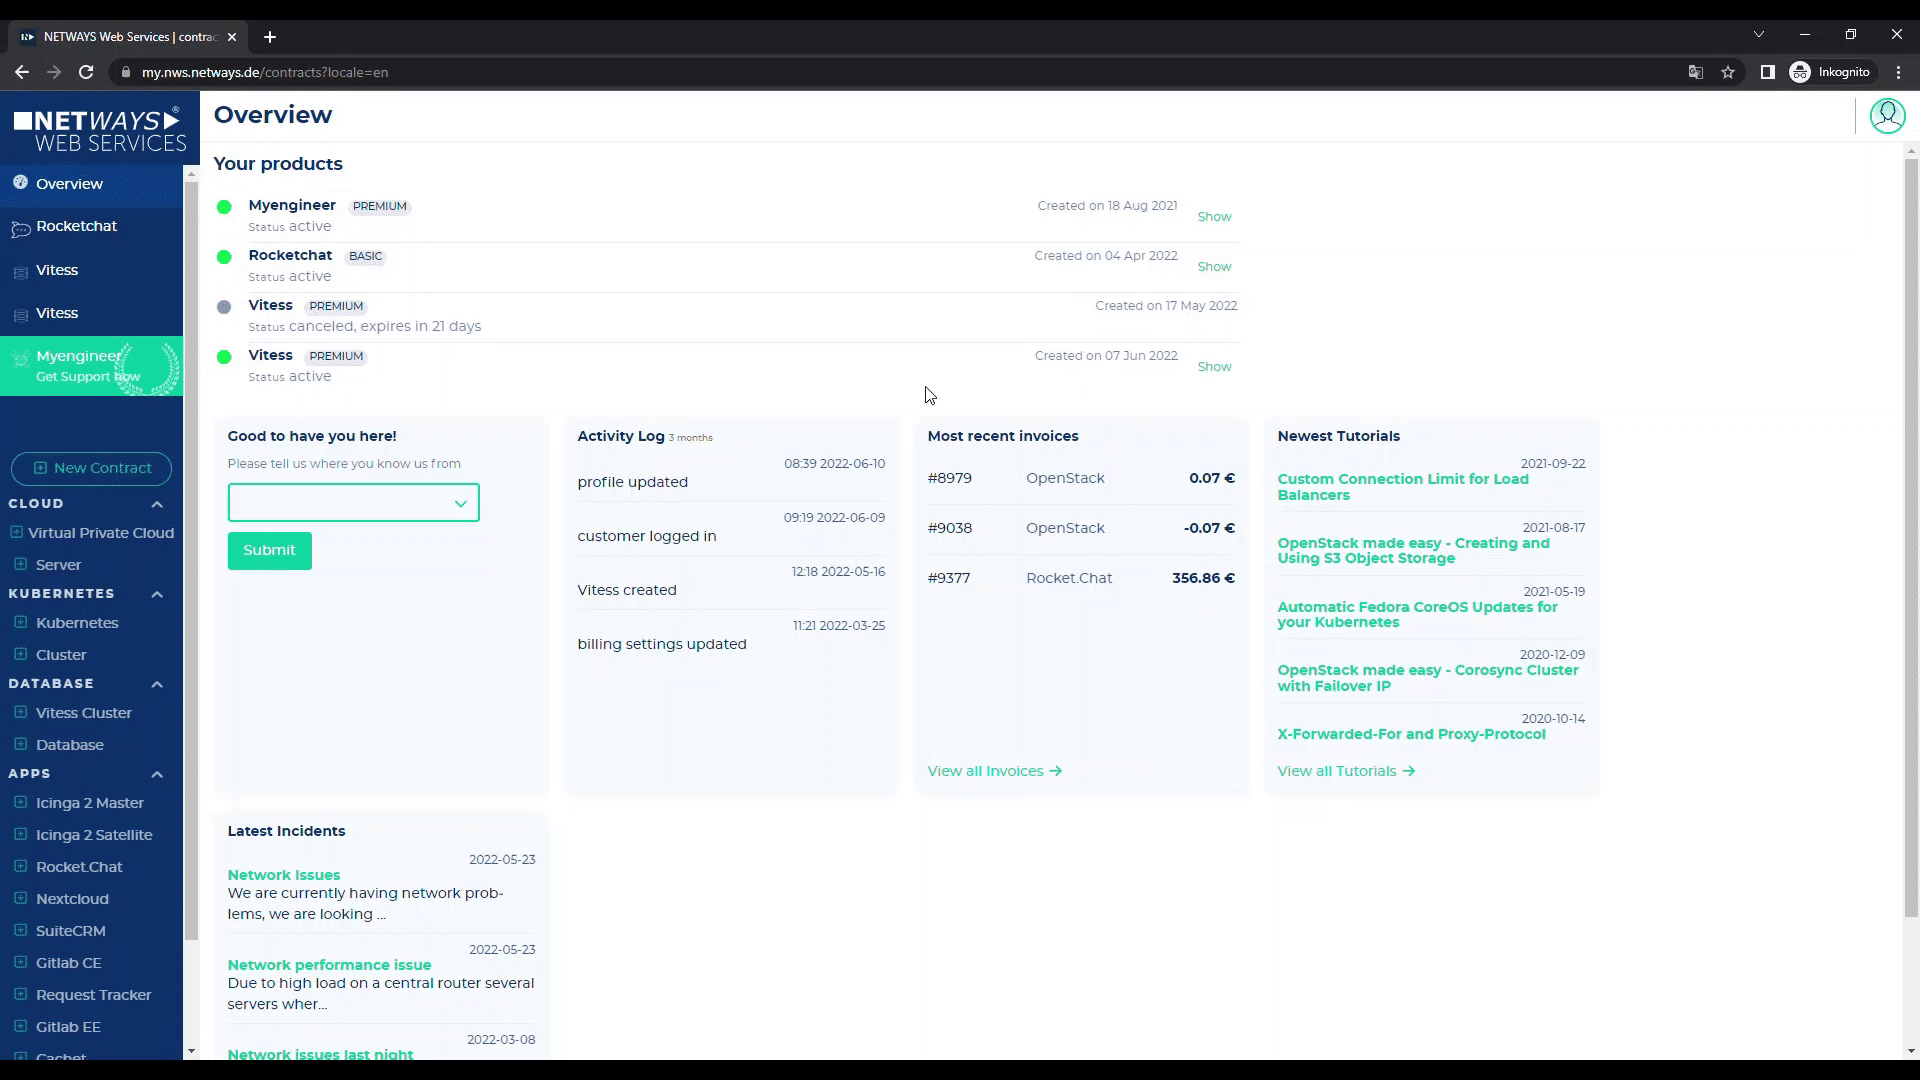
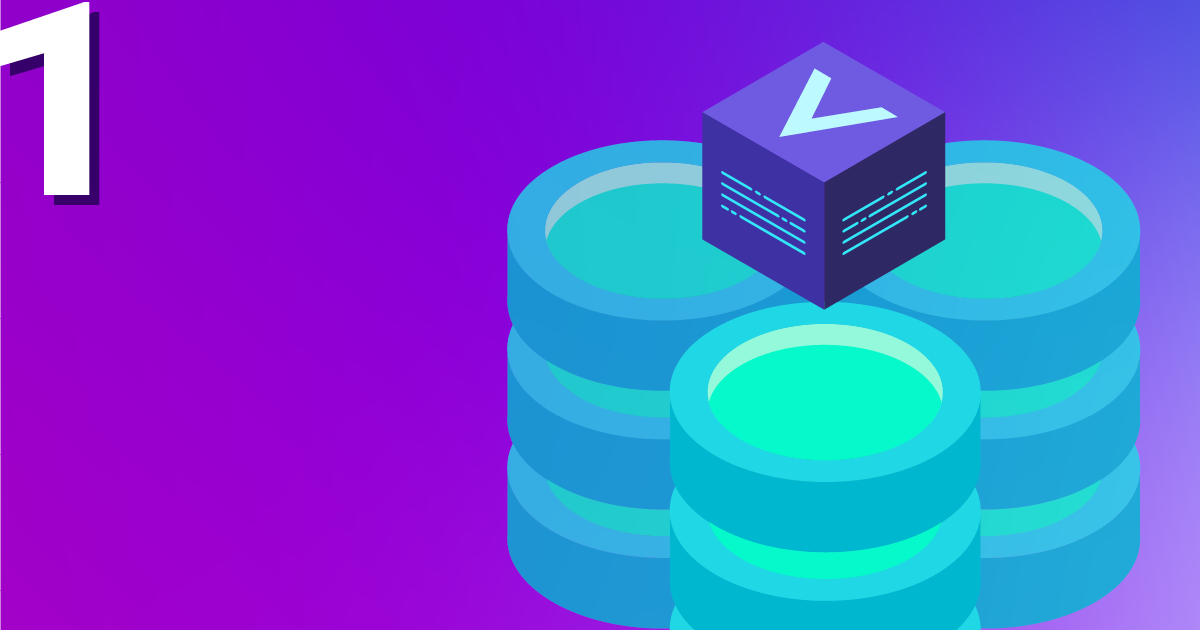
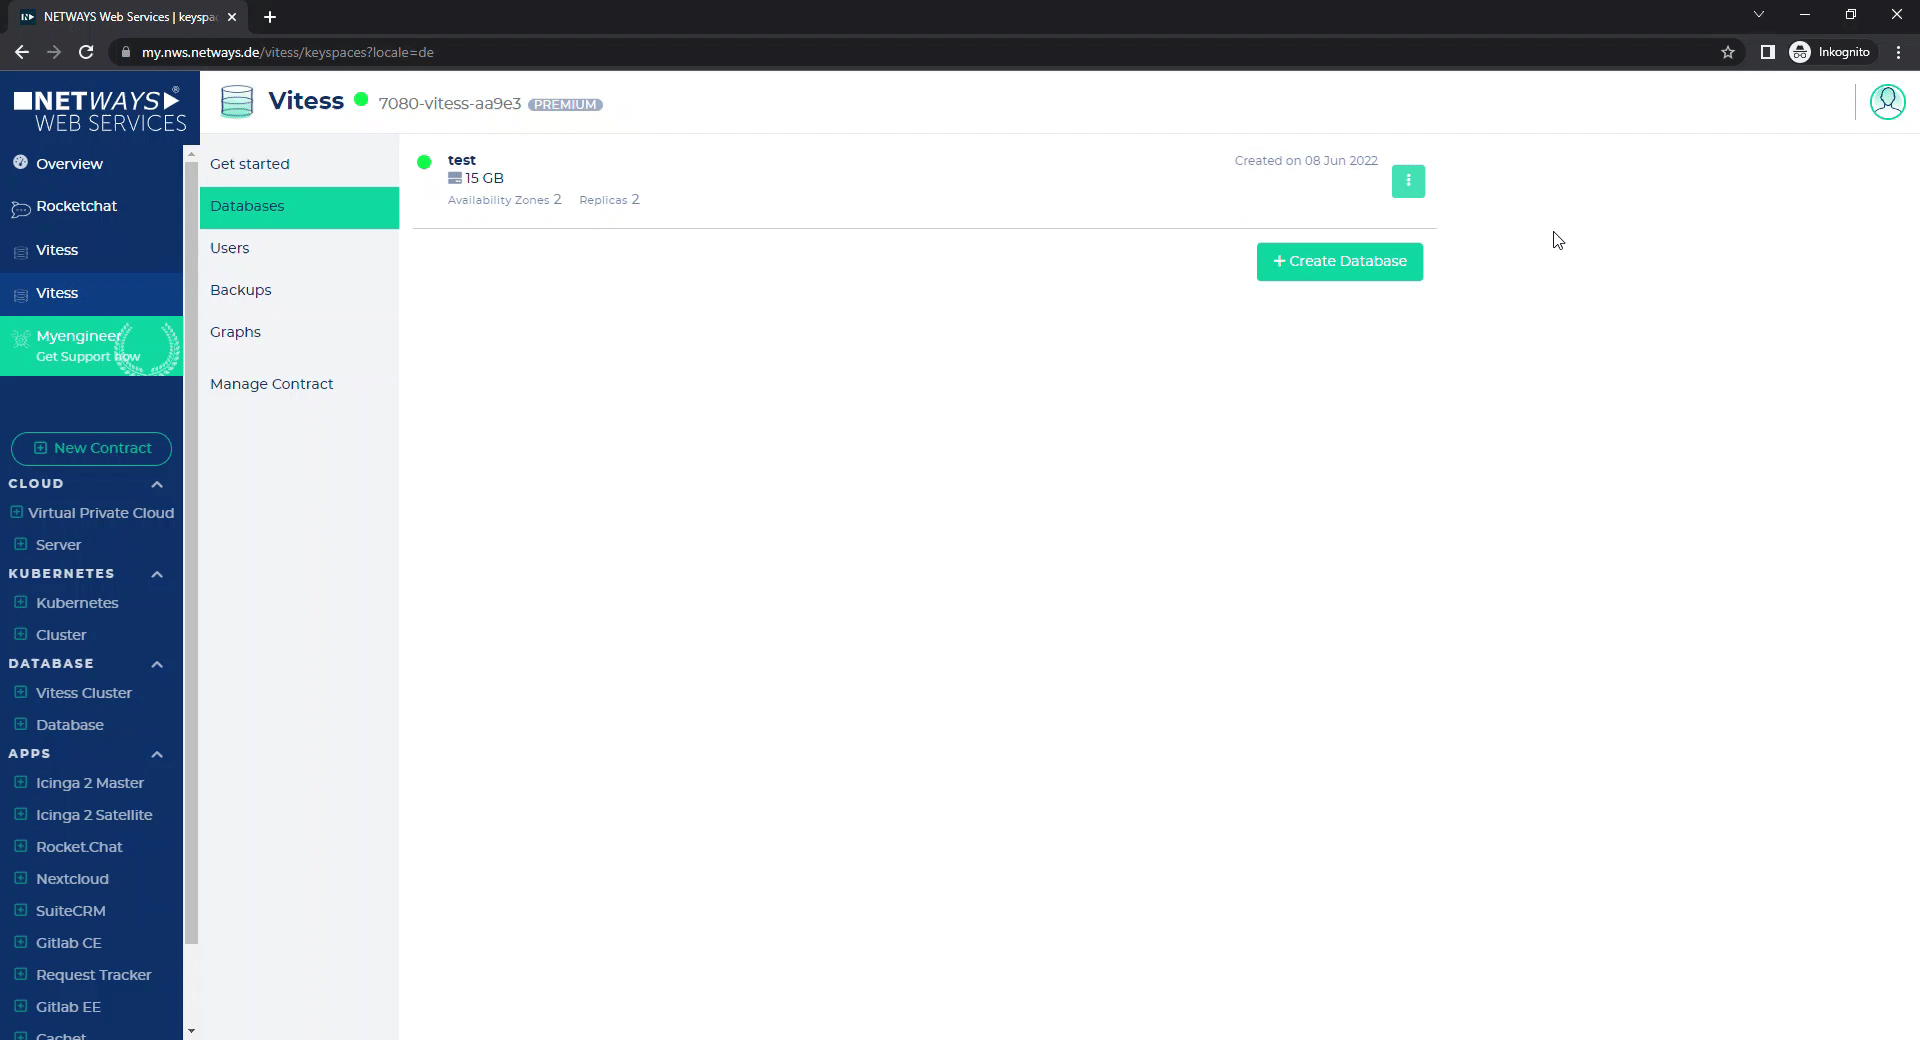
First of all, you start your Vitess Cluster, as seen above. Within a Vitess Cluster you can start as many databases as you want. Under “Managed Contract” you have the option to rename your cluster.
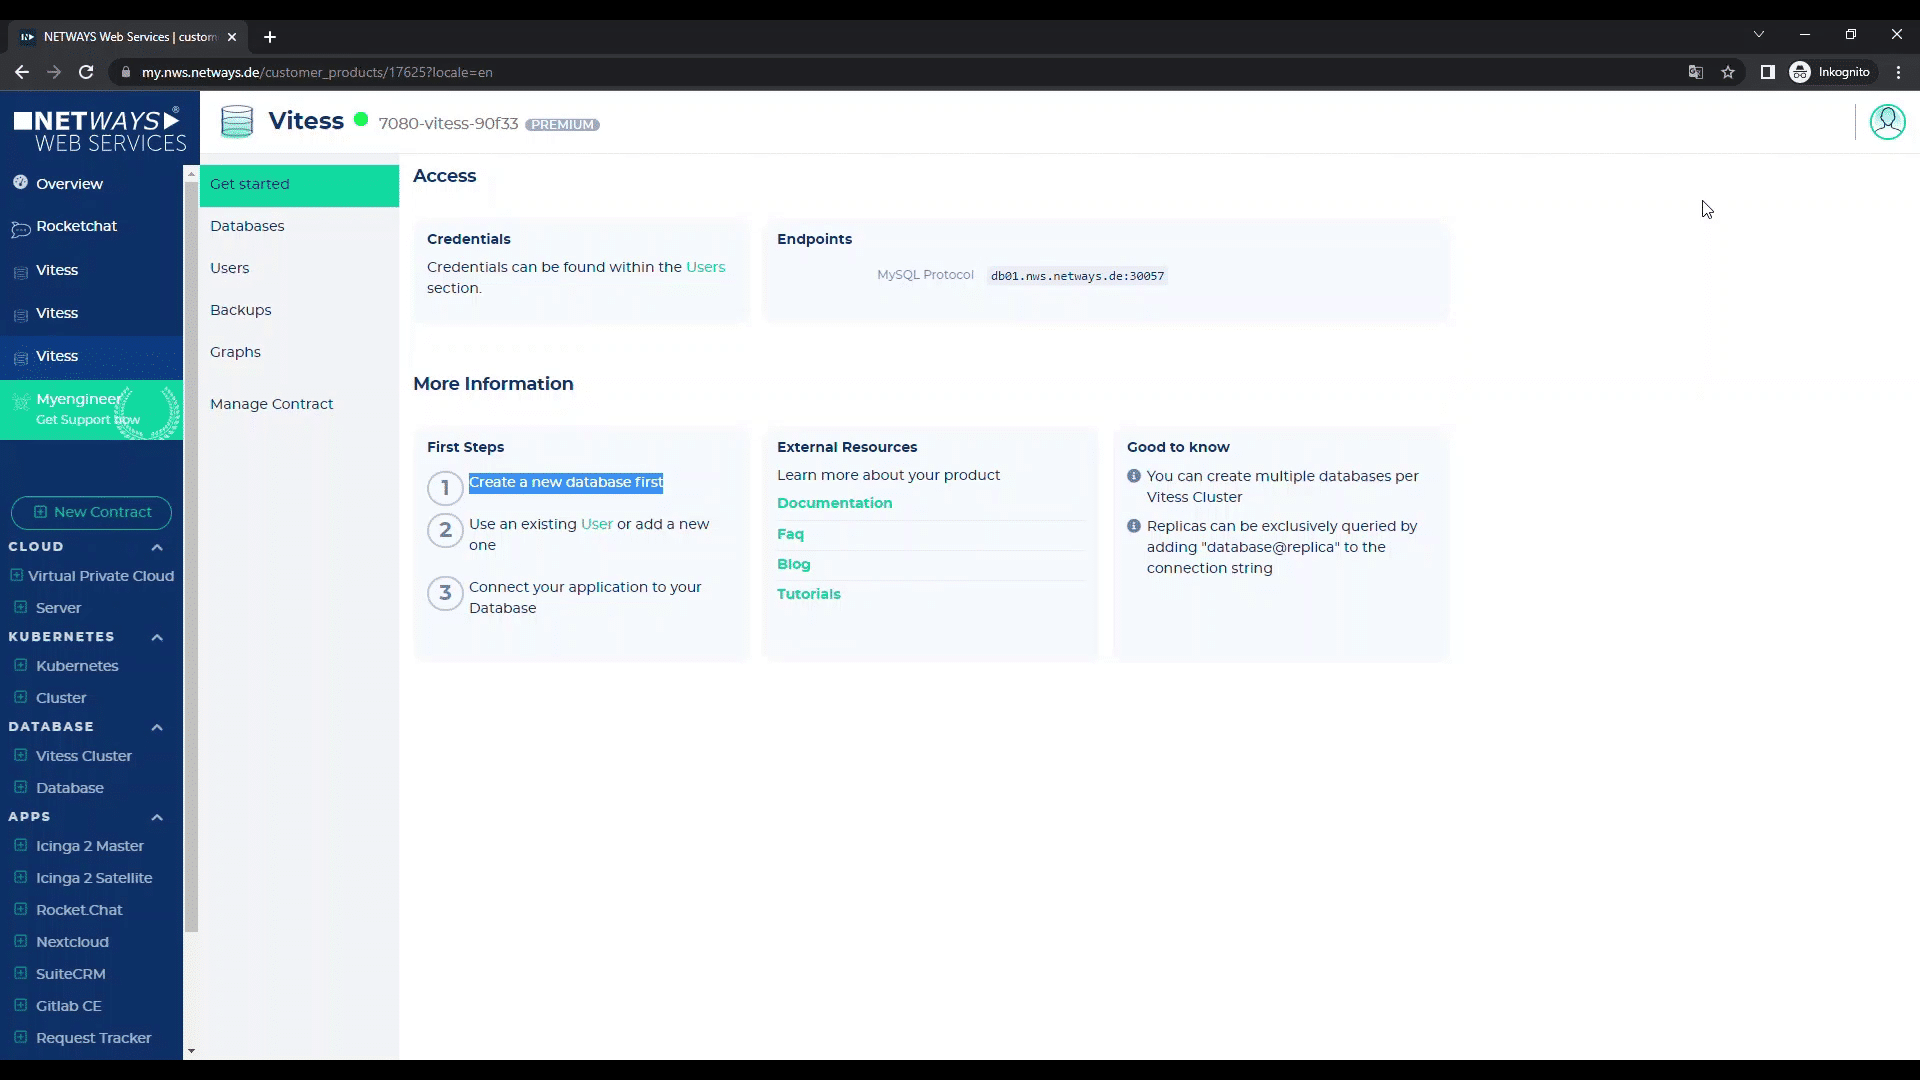
Now you have to start the first database. Just click on “1. create a new database”.
In the following you can name your DB and choose in which Vitess cluster the database should be started (if you have more than one cluster).
Now you have to choose one of our four plans. These plans differ in the replica size, the included backup size and the included traffic. In addition, each next higher plan is assigned more resources (in the form of CPU and memory). So if you have a lot of load, it is recommended to choose a higher plan, because it can handle more queries/second.
After that, you can decide how many replicas should be created. The smallest value is always two (consisting of one primary and one replica). If your application is very read-intensive, you can increase the number of replicas as much as you like and thus distribute the load efficiently.
The retention period of the daily backups can also be freely determined. The backup of the last day is delivered by default. If you want the backups to be kept for several days, you can easily set this by increasing the days to the desired duration.
Last but not least, you can select the replication mode. Here, you can set how your data should be replicated.
In Asyn mode the primary is “fired” with transactions and the replicas just try to keep up with the primary as much as possible without a time delay – but these time delays (seconds behind master) can/may occur. In case of a failover, it can happen that a replica is switched to the primary, which did not get the latest transactions, because it was a few seconds behind.
This cannot happen in semi-sync mode. In semi-sync mode MySQL always expects at least one replica to have fulfilled the last transaction. This ensures that at least one replica is always at the exact same state as your primary. If the primary is broken, Vitess automatically switches to the latest replica and appoints it as the new primary – so it continues without data loss.
Here’s an advice: Ideally, a database setup in semi-sync mode consists of three replicas – a primary and two replicas. One of these two replicas is always up to date with the primary. If a failover occurs, the primary replica can continue to work, because it has an additional replica that confirms new transactions.
If this were not the case (and you had only one replica), then the replica appointed as primary would now lack a counterpart for the commitment of new transactions. So it would have to wait until a new replica is up to commit the transactions (this only affects writes or deletes; read queries are not affected).
Now click on “Create” and your database will be started! Et voilà – after a short moment your data is available and you can start. For your database you now have the options “Connect”, “Edit” and “Destroy”.
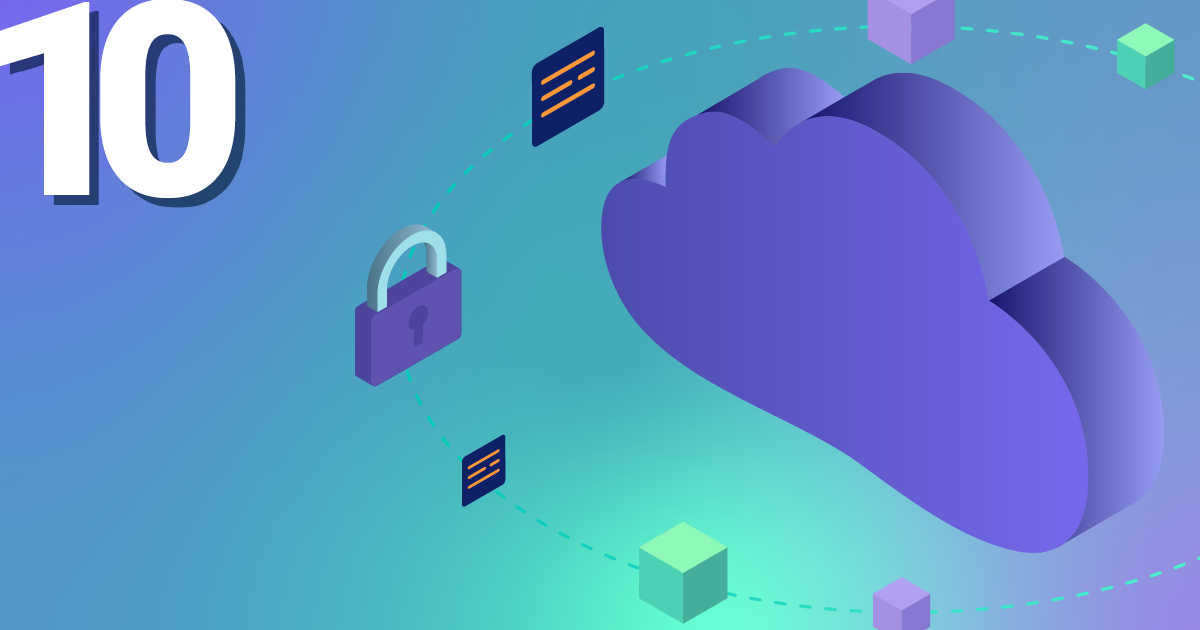
“Connect” shows you how to connect to the database – as usual with mySQL with host, user, password and SSL options (we reject non-SSL connections).
There is one more special feature: your SQL connection will include the database name!
If you add @replica to the database name, then you connect to the replica (which is read-only).
So, if your application supports it (e.g. Ruby on Rails), you can specify your primary database connection and your replica database connection – and subsequently, all selected statements go to replicas and all data manipulation statements go to the primary. This way your setup can scale super well, as your application can direct the load of the read queries to the replicas.

With “Edit” you can configure your database.
So, if you run out of storage, you can simply switch to the next bigger plan here. Or you can increase the number of replicas and backups or adjust the replication mode again.
If the largest plan is no longer sufficient, our scaling via sharding takes effect. For this, however, a detailed tutorial follows.

As shown above, with “Destroy” you delete your database again.
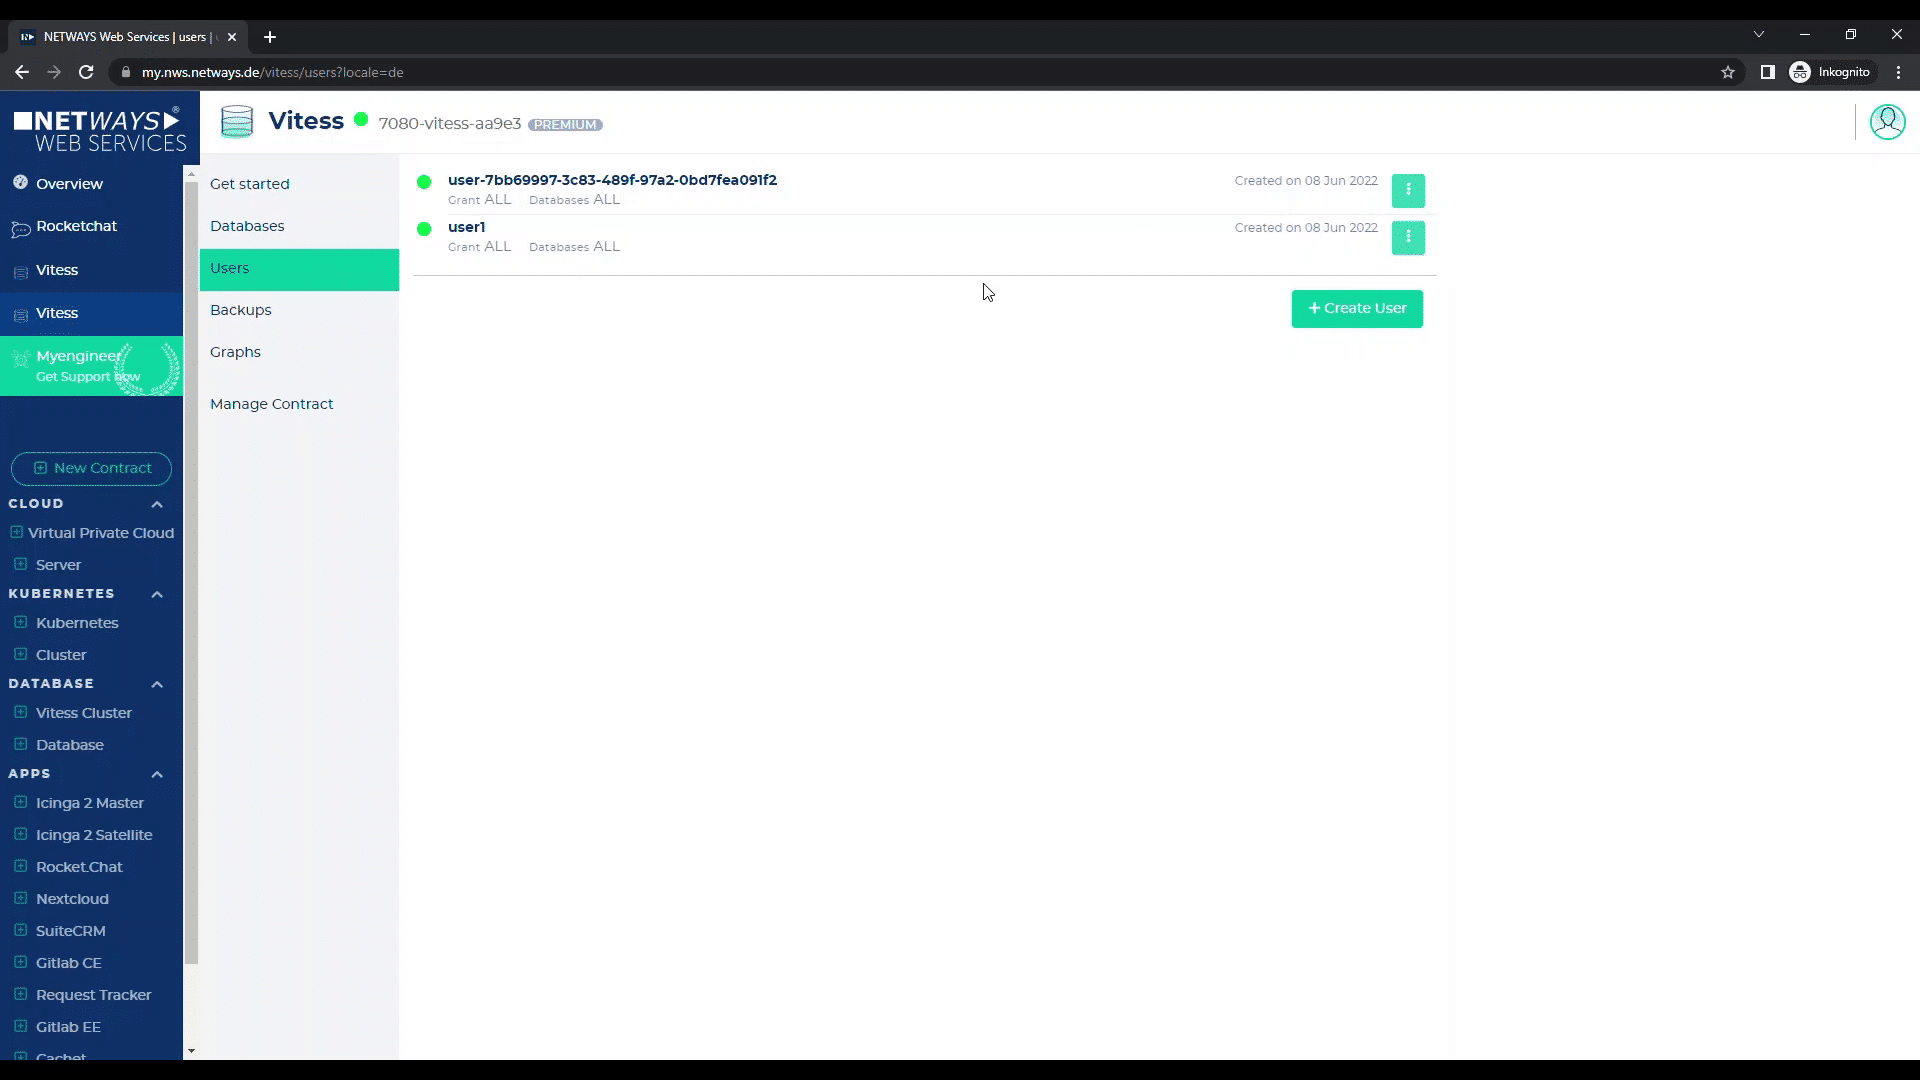
Under “User” you will find all the credentials for the automatically created user. Furthermore, you can create (and delete) additional users and assign passwords.
With “Backups” you will always find the backup that is automatically created once a day by default.
You can also create a backup manually at any time (e.g. in case you are working on your database and want to make a last database backup) by clicking on “Create Backup” and selecting the database to be backed up (if you have started several in your cluster).
Depending on which rentention cycle you have set for your database, your intermediate backups will be deleted in the evening.
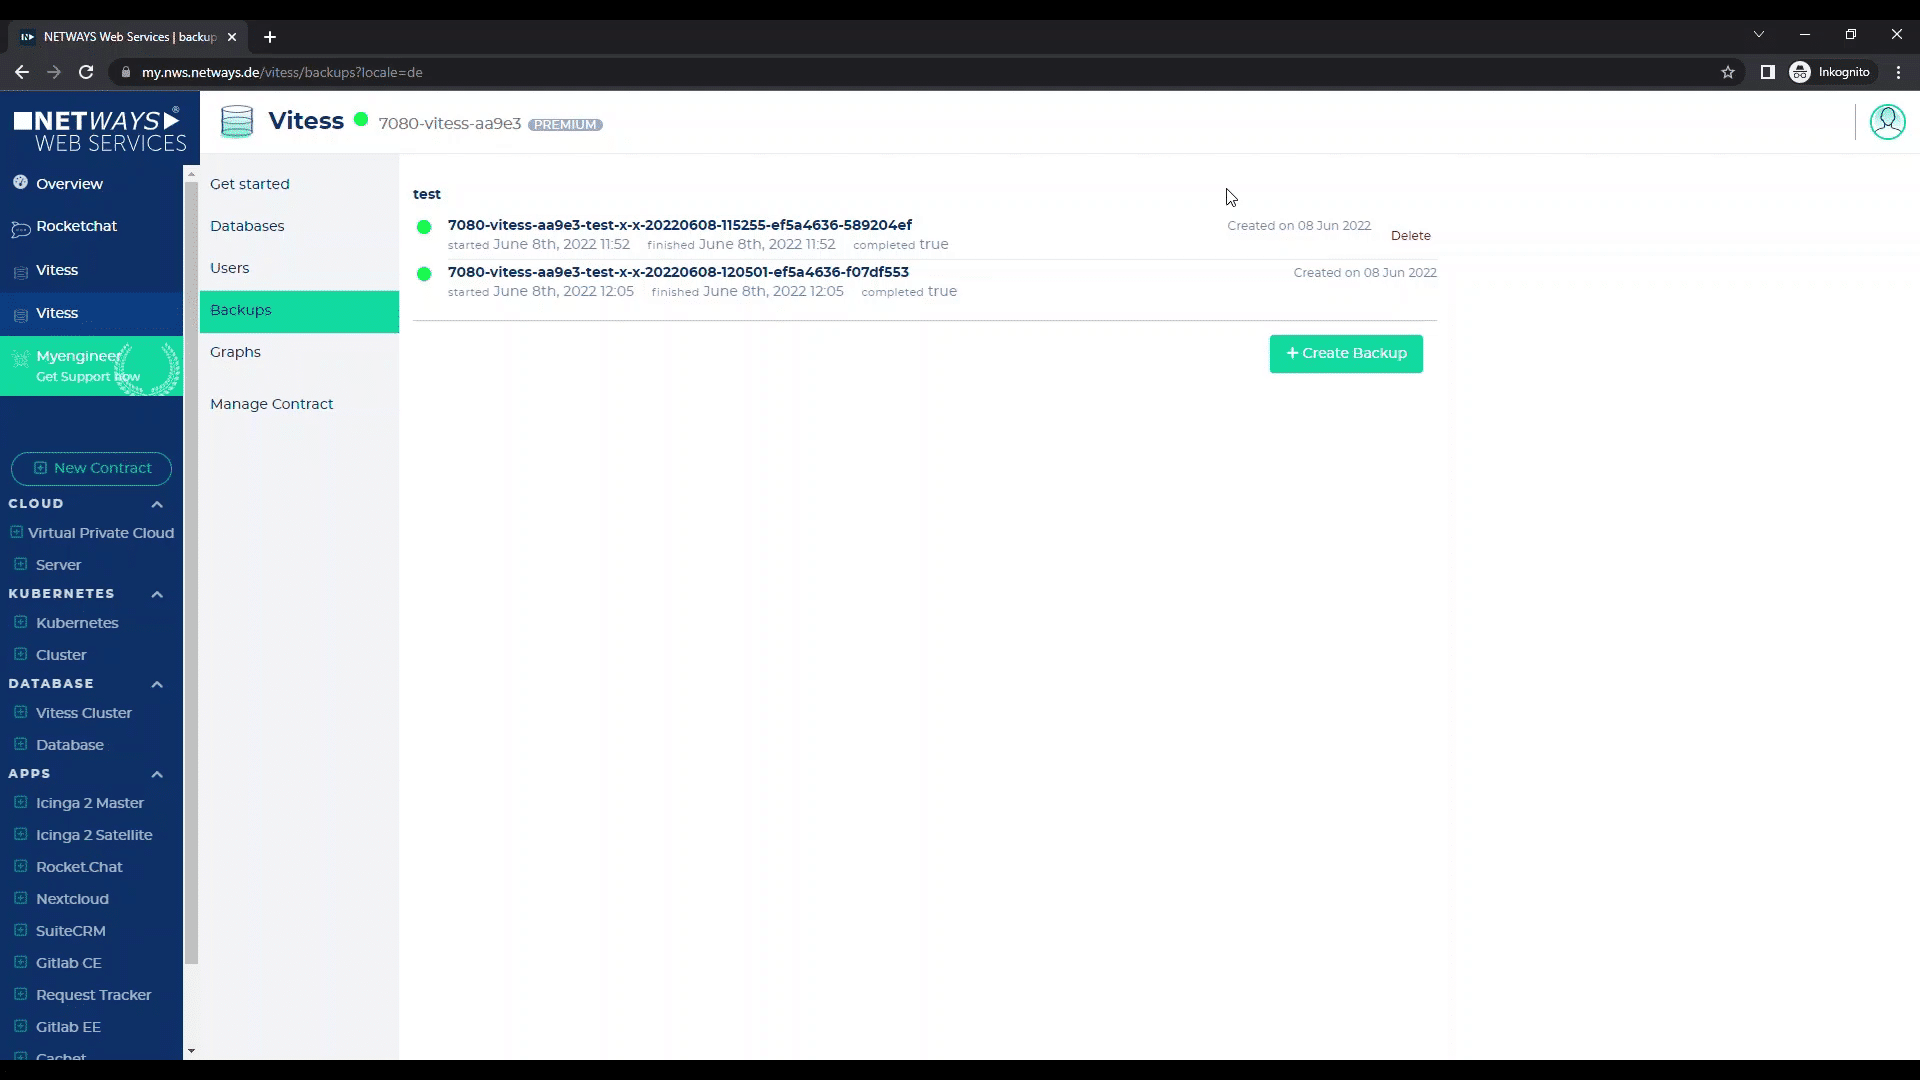
If you have several backups here, you can delete them – only the last (highest) backup cannot be deleted, because it is used to restore the replicas if necessary.
Under “Graphs” we visualize the utilization of your setup (queries/second), the storage allocation and the slave lag for all replicas.
Under “Manage contract” you can rename or cancel your Vitess cluster.
Now that’s all the magic behind starting your first NETWAYS Managed Database built with Vitess!