You need to set a custom limit for incoming connections on your load balancer? Here you can learn how to achieve this!
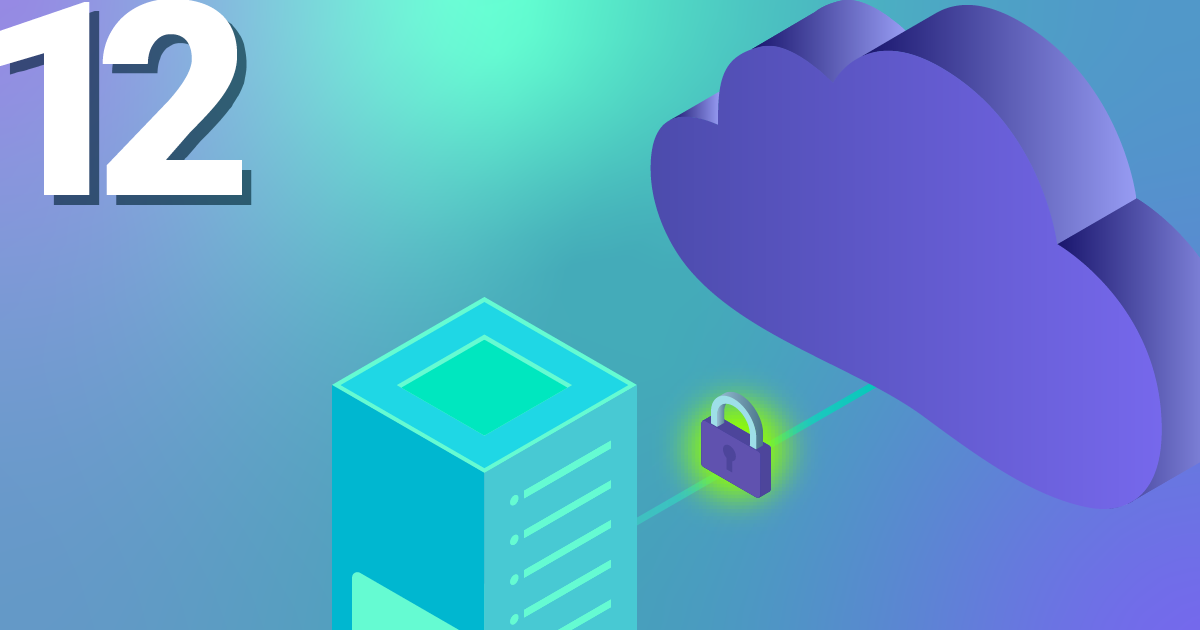
About the Connection Limit
The connection limit specifies the maximum allowed number of connections per second for a load balancer listener (open frontend port).
You may ask, why set a connection limit in the first place?
The most obvious reason would be, to prevent request flooding against your exposed services which are running in your Kubernetes cluster. You can set a tighter limit and just let your load balancer drop connections if they exceed the service capacity. But if you have proper handling for that in your cluster or if you use something like autoscaling to scale your service on demand, then you might want to increase the limit on your load balancer.
Problems with High Connection Limits
Well, in earlier versions of our load balancer service Octavia we in fact had no default limit for incoming connections. But soon we came across some issues.
Problems occurred when the load balancer was configured with more than 3 listeners. As the connection limit is applied to each listener, setting no limit at all would cause the HAProxy processes to crash if the number of listeners is further increased. More details about the problem can be found in this bug report.
In order to prevent that our customers would run into this issue, we decided to set a default connection limit of 50000.
In this post I will show you how you can customise the limit yourself.
Service Annotations for Load Balancers
Since the Kubernetes clusters in NWS are running on top of OpenStack, we rely on the “Cloud Provider OpenStack”. In the load balancer documentation of the provider, we can find a section with all available Kubernetes service annotations for the load balancers.
The annotation we need in order to set a custom connection limit is “loadbalancer.openstack.org/connection-limit”.
Applying the Annotation
The annotation needs to be set on the service of the load balancer. You see your load balancer as type “LoadBalancer” in the service list.
~ $ kubectl get service
NAME                                 TYPE           CLUSTER-IP       EXTERNAL-IP       PORT(S)                      AGE
ingress-nginx-controller             LoadBalancer   10.254.194.107   193.111.222.333   80:30919/TCP,443:32016/TCP   2d
ingress-nginx-controller-admission   ClusterIP      10.254.36.121    <none>            443/TCP                      2d
kubernetes                           ClusterIP      10.254.0.1       <none>            443/TCP                      2d17h
my-k8s-app                           ClusterIP      10.254.192.193   <none>            80/TCP                       47h
In my example the service was set up automatically when I installed a Nginx Ingress Controller from a helm chart.
Nevertheless I can just edit this service and set the annotation:
~ $ kubectl edit service ingress-nginx-controller
Now set the annotation for the connection limit to the desired value (“100000” in my example):
apiVersion: v1
kind: Service
metadata:
  annotations:
    loadbalancer.openstack.org/connection-limit: "100000"
    meta.helm.sh/release-name: ingress-nginx
    meta.helm.sh/release-namespace: default
  creationTimestamp: "2021-09-08T08:40:59Z"
...
Save the changes and exit the editor. You should be prompted with:
service/ingress-nginx-controller edited
If not, make sure that there is no typo and to put the value in double quotes.
After successfully editing the service, it usually takes around 10 to 15 seconds until the changes are applied via API calls on the actual OpenStack load balancer.
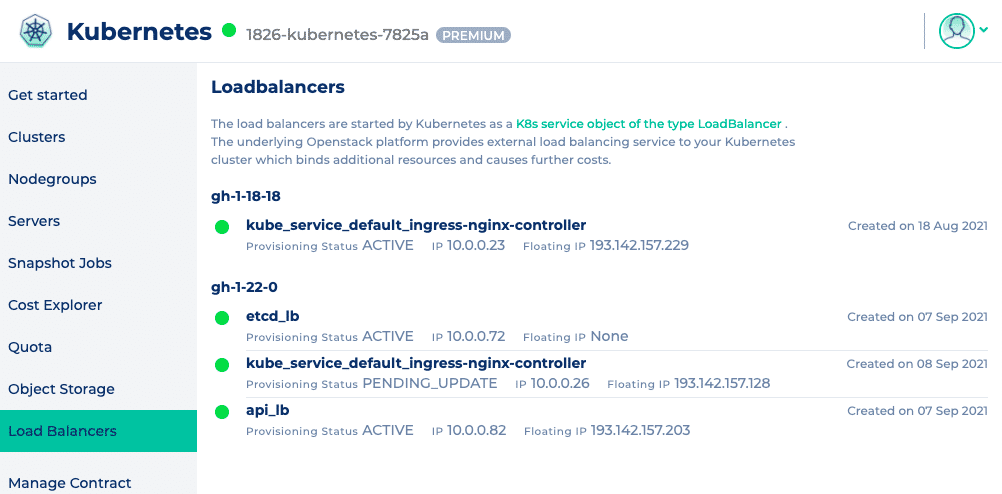
You can check the status of your load balancer in the web interface of NWS.
The provisioning status will be on “PENDING_UPDATE” while setting the connection limit and will go back to “ACTIVE” as soon as the changes were applied successfully.
Conclusion
It can be useful to set custom connection limits on the load balancers and as you just saw, it is also fairly easy to accomplish. Just be aware that you might come across the mentioned problem when using many listeners in conjunction with a very high connection limit.